The Dreamlink T1, T1+, and T6 are powerful IPTV set-top boxes that deliver smooth streaming with the right setup. Whether you’re using an M3U URL or portal login, this guide walks you through installing your IPTV service step by step. Ready to unlock endless entertainment? Let’s begin!
IPTV Setup on Dreamlink (T1, T1+, T6) – Step-by-Step Guide
Get ready to enjoy seamless IPTV streaming on your Dreamlink T1, T1+, or T6 with this easy setup guide. Follow these steps to activate your service and start watching in minutes!
1. Prepare Your Device
Check for System Updates
- Go to Settings > System Update.
- Install any available updates.
- Why? Keeping your device updated ensures better performance and IPTV compatibility.
Find Your MAC Address
- Open the server menu (portal settings).
- On your remote, press:
- Exit → then OK.
- In the Dreamlink Online (DOL) interface, your MAC address will appear in the top-right corner.
- Tip: Write it down—you’ll need it to activate your subscription.
2. Activate Your IPTV Subscription
After receiving your personalized portal URL from your provider:
- Open Dreamlink Online (DOL).
- Go to Portal Settings.
- Press the GREEN button on your remote for manual setup.
- Enter:
- Portal Name (e.g., “My IPTV”)
- Portal URL (paste the unique link from your provider).
- Save and exit.
3. Final Setup & First Launch
Restarting the Device:
- Perform a full reboot from the system menu
- Wait 2-3 minutes during initialization
Verifying Proper Functioning:
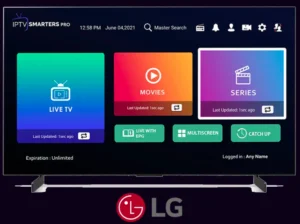
The interface should now display:
✓ The new portal
✓ Your complete channel list
✓ Your subscription options
Technical Support
Our team remains at your disposal. We wish you an excellent viewing experience with our IPTV services.